Christmas Tree Patchwork Pillow Tutorial
 This patchwork pillow project can be done with cross stitch and other types of needlework as well as fabric panels and any other things you can think of. It is great to use up left over pieces of fabric you may have. Trim your design to have a 1" border on all sides. Begin with the right and left sides and cut two strips around 2" or so wide and the same length as the design and sew with a 1/4" seam. Do this with the top and bottom making the strips the same width. Continue to add strips in this manner until you are happy with the size. Put smaller pieces together to make a strip for a patchier affect.
  After you have your panel the size you want you can add buttons here and there. Add laces and ribbons and attach with novelty stitching with variegated coordinating threads using your sewing machine. Sometimes I add small patches of fabric 1" x 1" or so, pom pom trim, and such to add some more interest. There are lots of fun things in the craft stores to play around with.
  Cut a piece of fabric for the backing the same size as the front and sew three sides together leaving one side open; either the right or the left, to make a pillow case.
Cut two pieces the same size for the inner pillow case. Sew three sides together leaving one short side open. Serge or narrow hem the open end. Set aside. Cut two pieces of a muslin type fabric to make a pillow form. Cut this fabric 1/4" larger on all sides.

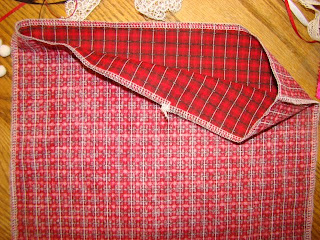
Serge or narrow hem the open end of the patchwork pillow case. You can decorate this with ribbon, lace or some type of trim and a decorative seam.


Comments